
Accounting
/Payments to employees
Payments to employees
This section facilitates the management and tracking of payments made to employees, outlining the functionality and workflow of two integral modules: "MT940 Bank Statement Operations," which specifically handles payments made from employee cards or other methods, and "Cash Payments in Advance" made to employees. Additionally, it covers the "Bank Statements Approval" tool, which serves as an intermediary for processing and approving payments before they are recorded as expenses.
Initial Setup
The initial setup primarily involves configuring the parameters within the "MT940 Bank Statement Operations" and "Cash Payments in Advance" modules and setting up categories, products, and services in their respective modules.
Predetermine categories, services, and products for the "Bank Statements Approval" tool.
To ensure that categories appear in the pop-up window when approving or rejecting bank statements or cash payments, ensure that the "Visible in Bank Statement" button is enabled in module "expenses_limitations__".
When creating services and products, it's crucial to associate them with a category in the designated category field. Doing this ensures categories, services, and products will load in the drop-down menus when approving or rejecting expenses in the "Bank Statements Approval" tool.
MT940 Bank Statement Operations
The "MT940 Bank Statement Operations" module handles transactions recorded in the company's bank statements. These transactions typically include payments made directly to employees using company-issued cards or other electronic means.
Cash payments in Advance
The Cash Payments in Advance module handles cash disbursements made to employees in advance of their expenses. These payments are typically made in cash or through other non-bank methods. It records all details related to the payments, ensuring there is enough information for an expense to be made later.
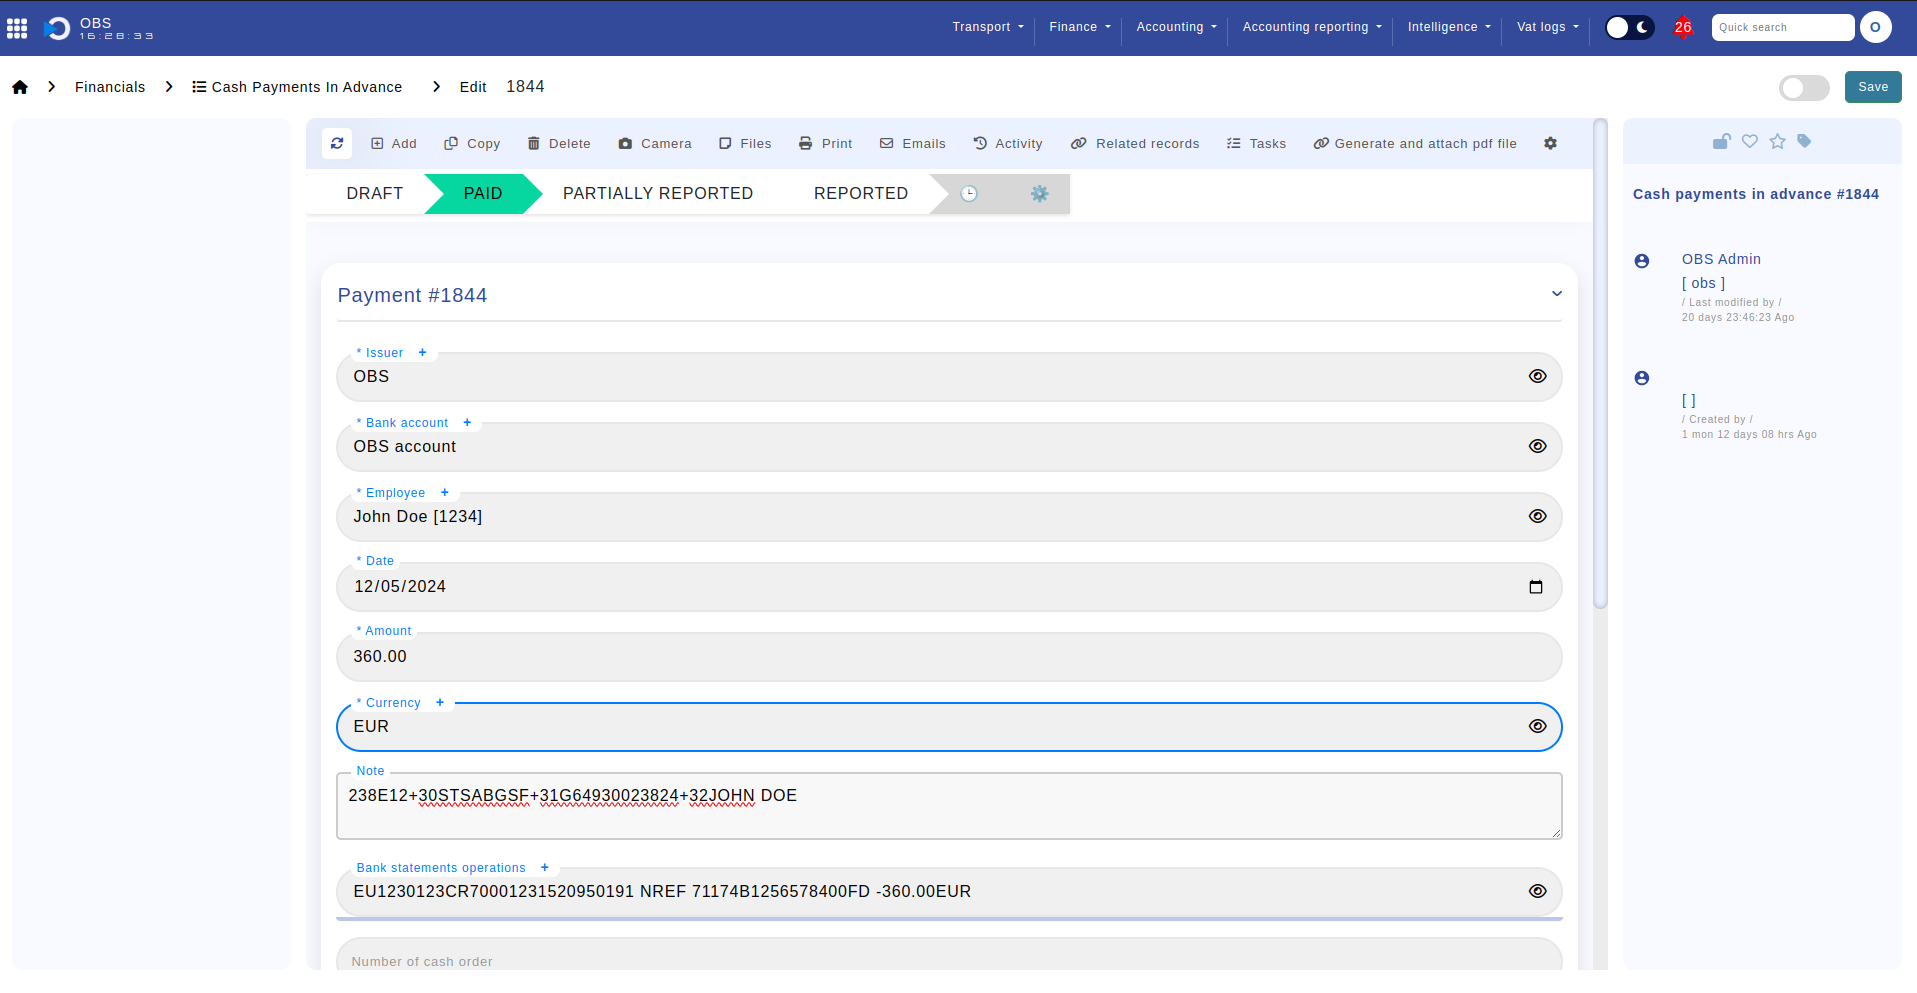
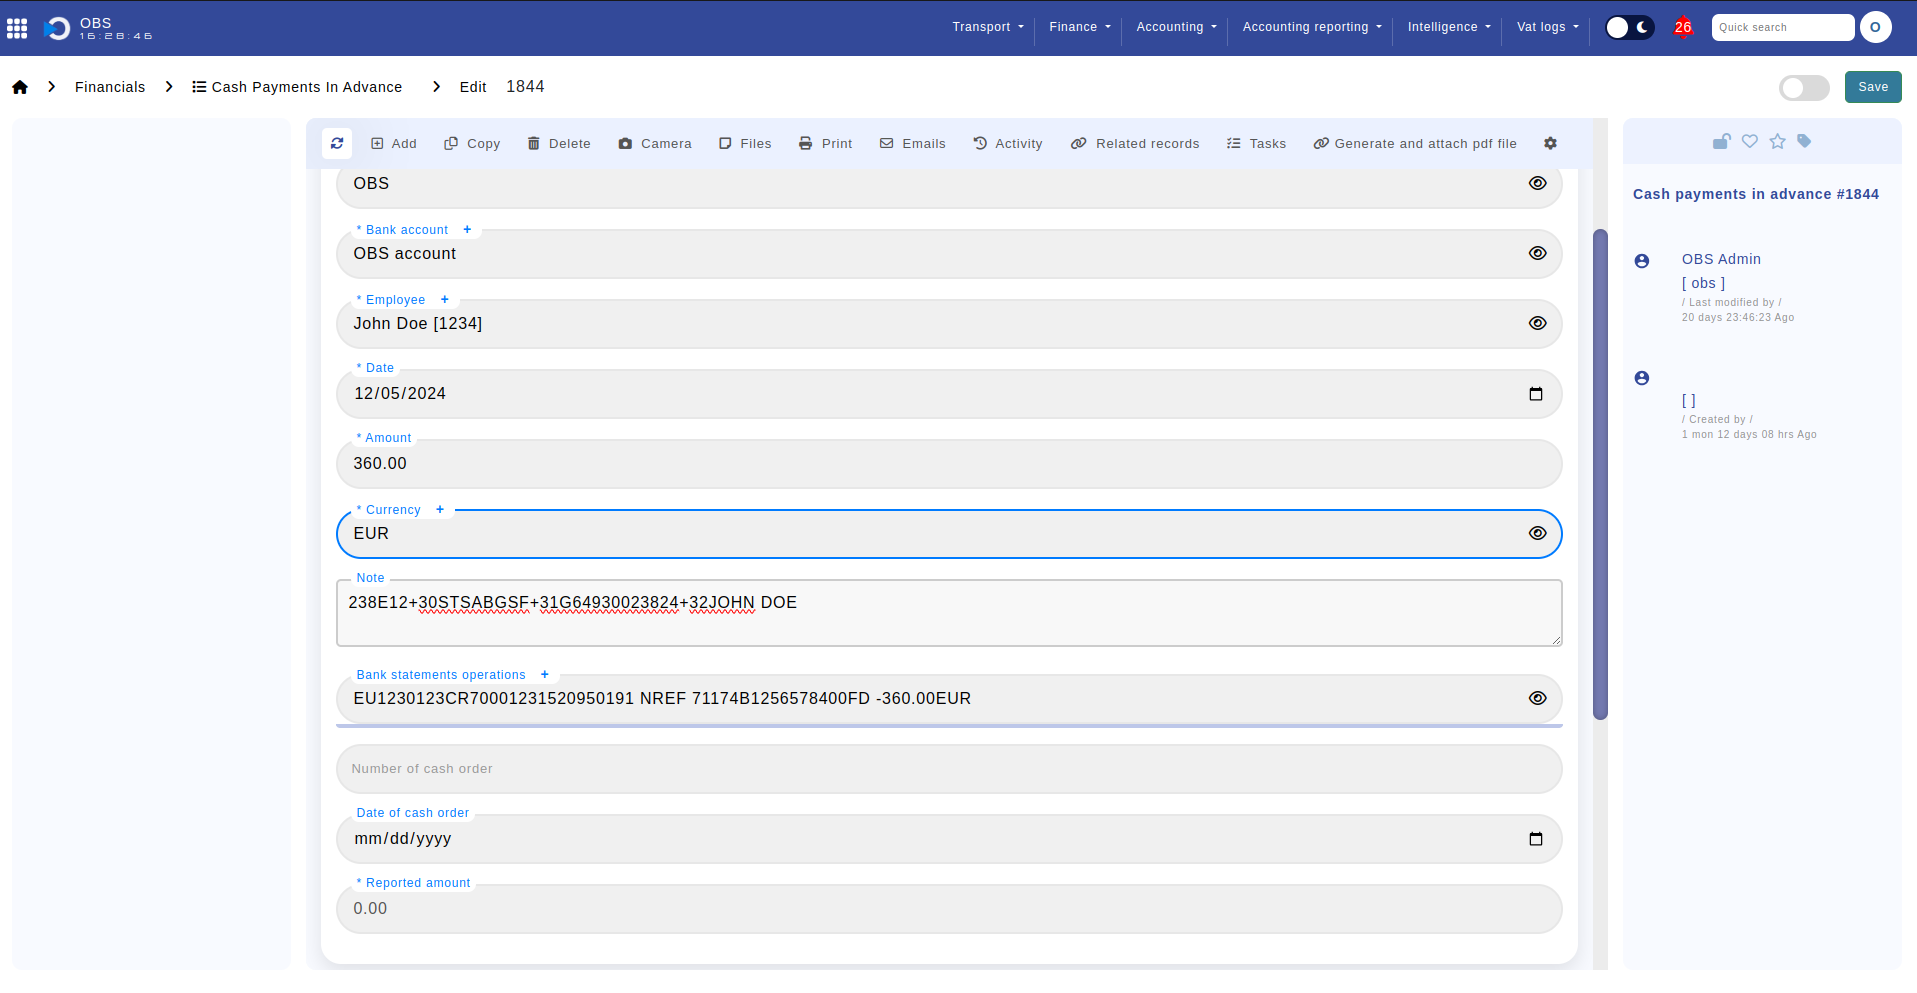
The fields included in this module are the following:
- Issuer - the company making the payments
- Employee - the employee who is receiving the payment
- Date
- Amount
- Currency
- Notes
- Bank statement operation - relation to module "MT940 Bank Statement Operations"
- Number of cash order
- Date of cash order
- Reported amount - amount already approved or rejected
Approving and rejecting expenses
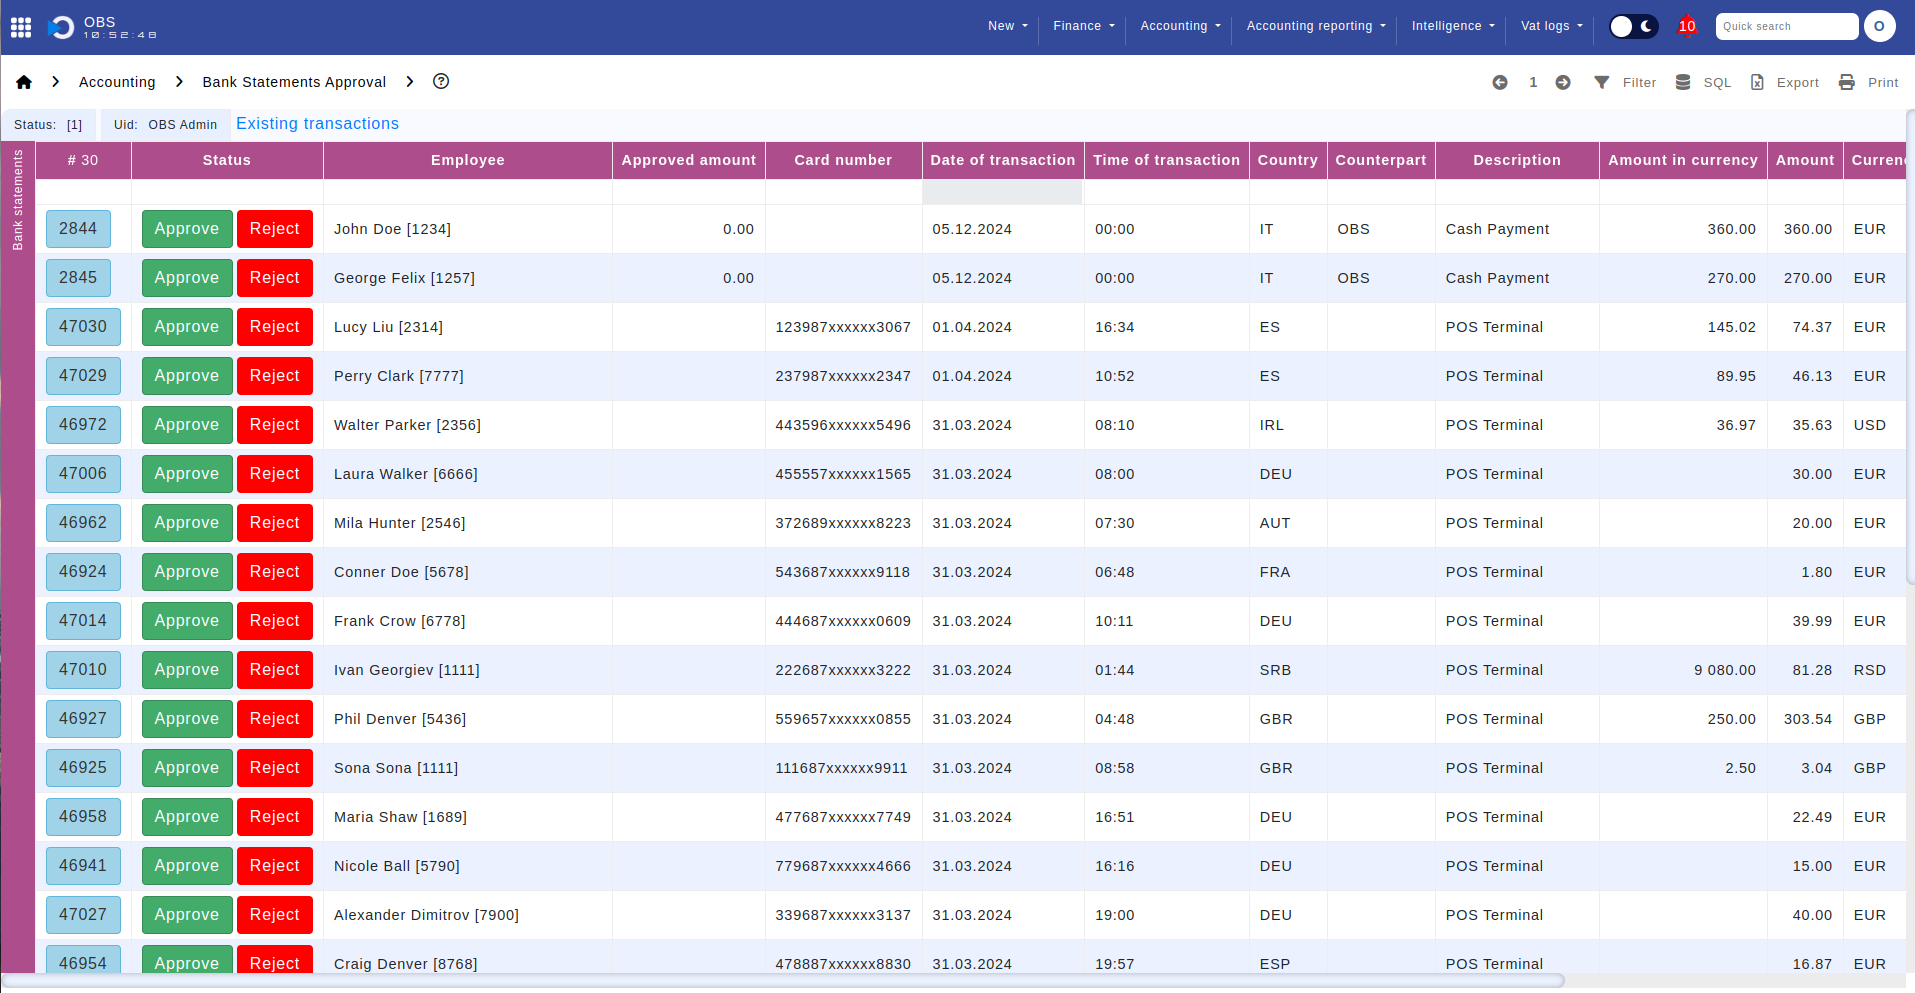
Approving Bank Statements:
- Click the "Approve" button to open a window containing fields for "Amount," "Category," "Service," and "Product."
- Select the appropriate category, which will dynamically load options for either "Service" or "Product" fields based on your selection.
- Choose the relevant service or product.
- Click "Ok" to confirm your selections.
Upon confirmation, the following actions will occur:
- An expense will be automatically created in the "Expenses" module with a status set to "Paid".
- The approved amount will be recorded as an "expense item" with the selected category and associated service or product.
- For the remaining amount, an expense item will be created with the category "Not Recognized Expenses".
Approving Cash Payments in Advance:
- Click the "Approve" button to open a window containing fields for "Amount," "Category," "Service," and "Product."
- Select the appropriate category, which will dynamically load options for either "Service" or "Product" fields based on your selection.
- Choose the relevant service or product.
- Click "Ok" to confirm your selections.
Upon confirmation, the following actions will occur:
- An expense will be automatically created in the "Expenses" module with a status set to "Paid".
- The approved amount will be recorded as an "expense item" with the selected category and associated service or product.
- For cash payments, if there's any remaining amount, it's up to the user to allocate it to additional expenses as needed.
Rejecting expenses
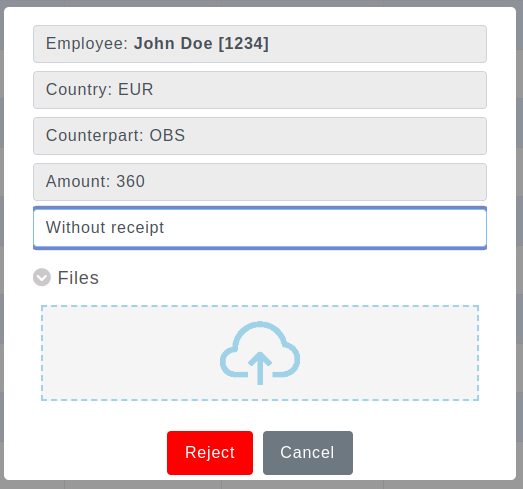
Rejecting Bank Statements:
- Click the "Reject" button.
- In the opened window, select the reason for rejection and upload any necessary supporting documents.
- Click "Ok" to confirm.
Upon confirmation, the following actions will occur:
- An expense will be created in the "Expenses" module.
- An expense item will be generated in the "Expense Items" module.
- For bank statements, the entire amount will be recorded under the "Not Recognized Expenses" category.
Rejecting Cash Payments in Advance:
- Click the "Reject" button.
- In the opened window, select the reason for rejection and upload any necessary supporting documents.
- Click "Ok" to confirm.
Upon confirmation, the following actions will occur:
- An expense will be created in the "Expenses" module.
- An expense item will be generated in the "Expense Items" module.
- For cash payments in advance, the remaining amount will be recorded under the "Not Recognized Expenses" category.
Rollback
To undo an operation in the "Bank Statements Approval" tool, follow these steps:
- Locate and click the "Existing Transactions" button located in the top-left corner of the tool interface. This action will open a window displaying all previous operations performed within the tool.
- Identify the operation you wish to roll back by referencing the unique ID associated with the bank statement or cash payment.
- Once you've found the desired operation, click the "Edit" option. This will take you to the record of the selected operation.
- Within the record, set the status to "Rollback". Clicking on the status will initiate the rollback process.
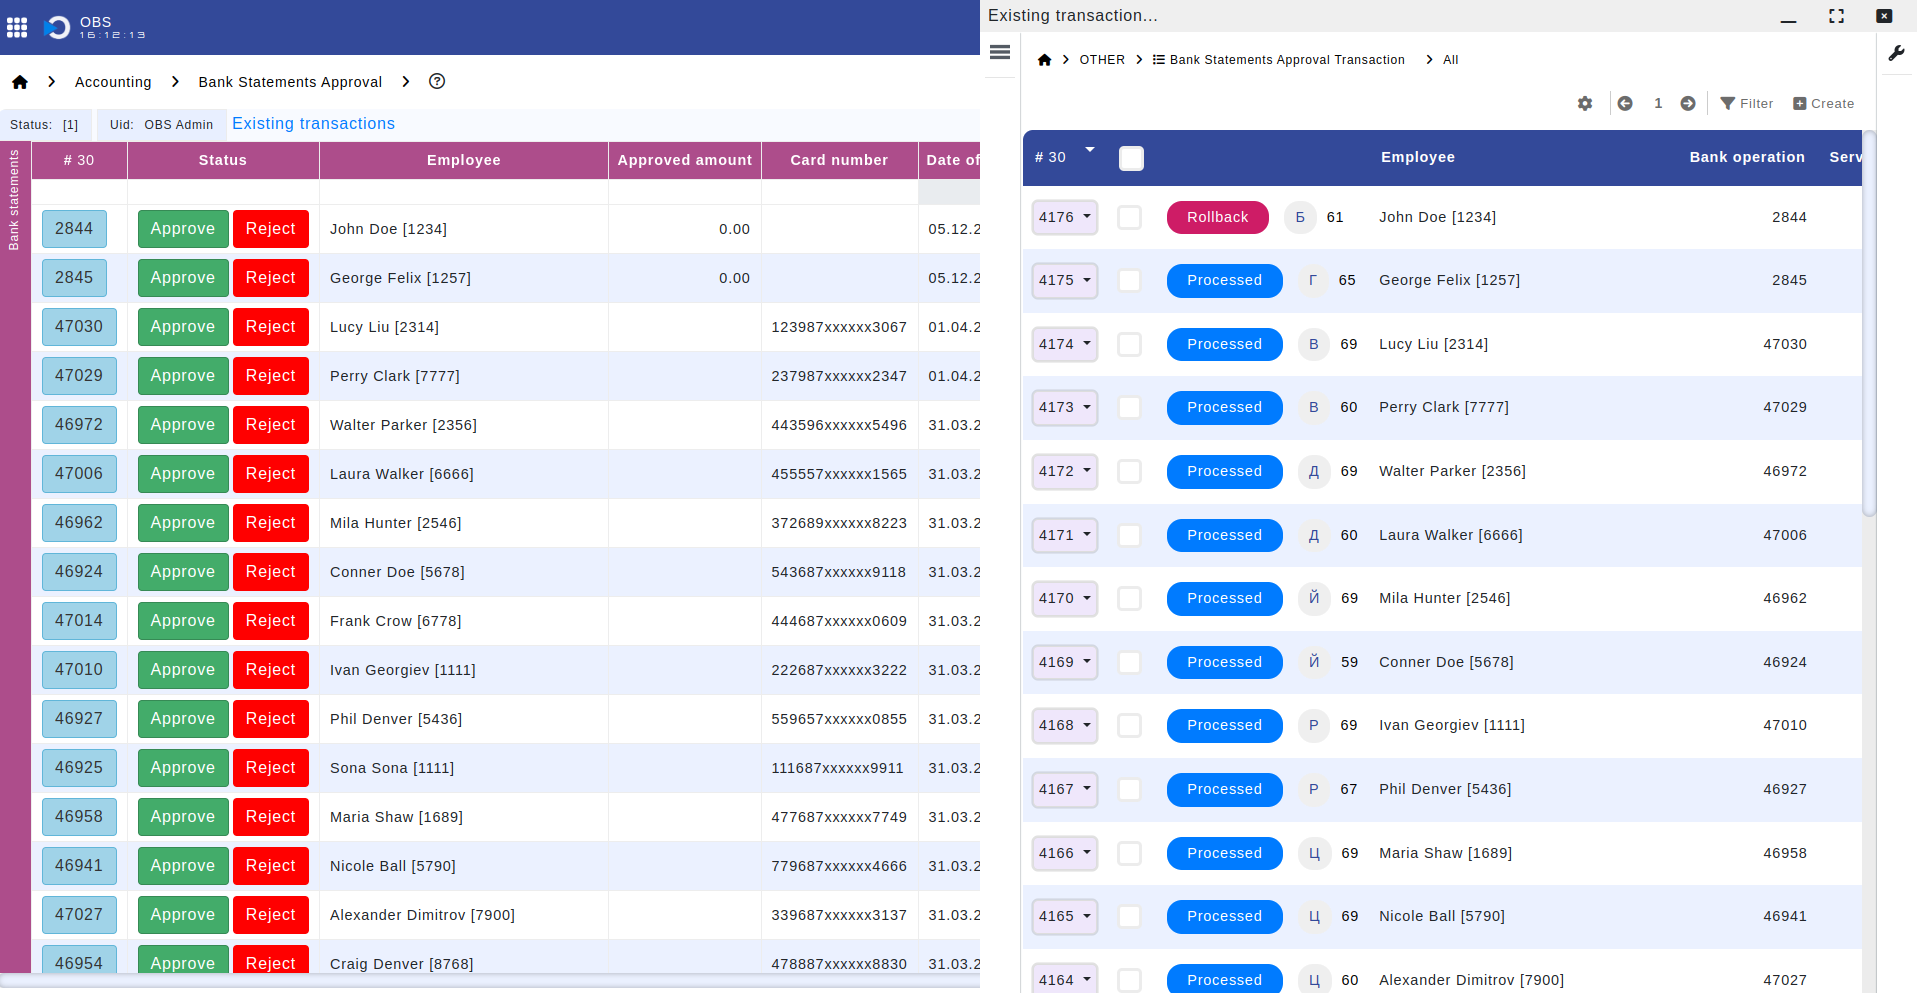
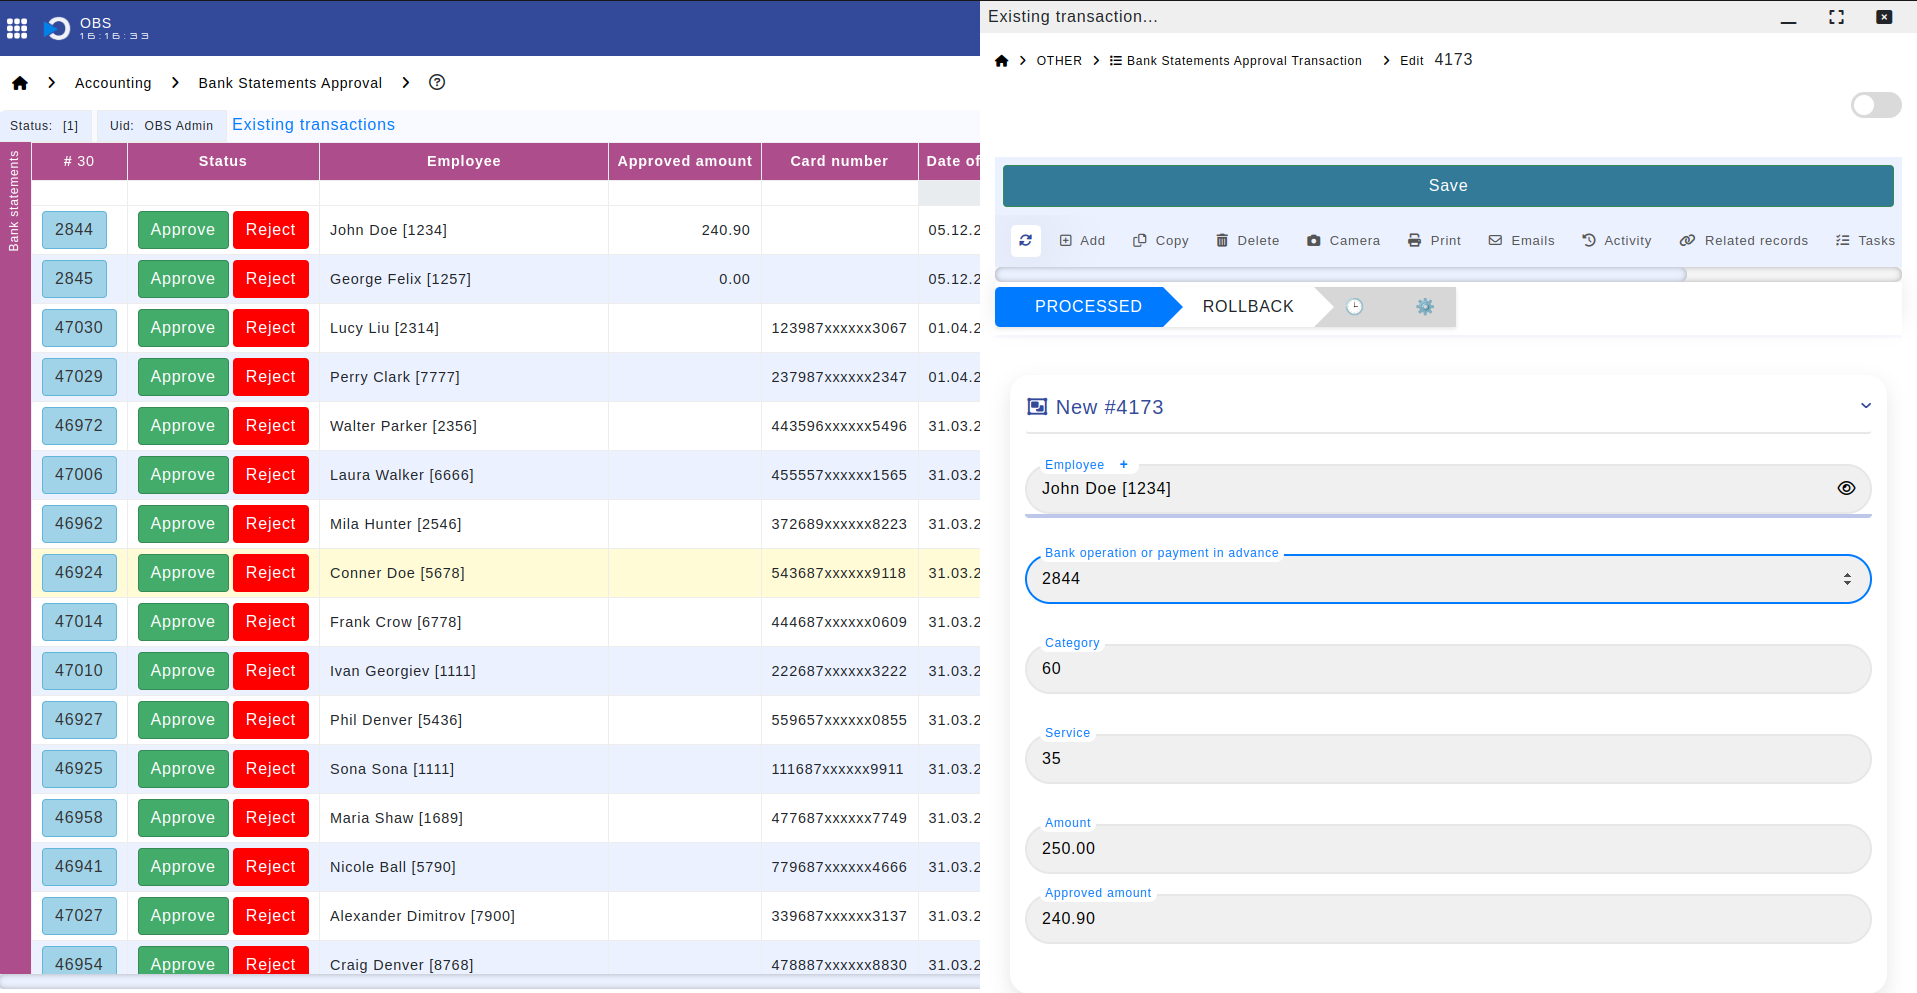
By following these steps, you can effectively rollback any unintended or erroneous operations performed within the "Bank Statements Approval" tool.